


HXC’s 3D printed 3-meter dragon case
2025-04-19
“Snow Shadow” UAV Ski Helmet Model Case Study
2025-04-223D Printing Medical Applications - Tracheal Model Cervical Surgery Simulation Project
Project Background
xxxxx Hospital contacted us to make an accurate 3D organ printing model for a patient who was about to undergo a complex tracheal surgery. Due to the fusion of the tracheal vertebrae and the formation of osteophytes, the structure of the airway was affected, making it impossible for the anesthesiologist to perform tracheal intubation. The hospital provided us with a CT scan of the patient's cervical spine and asked us to display all the details in the scan through the model for preoperative simulation.
Project Requirements
In addition, the hospital required us to use soft rubber materials for the trachea and hard materials for the cervical spine model to restore the patient's actual condition to the greatest extent possible. At the same time, the color of the trachea is distinguished from that of the cervical spine for easy identification.
Preliminary analysis
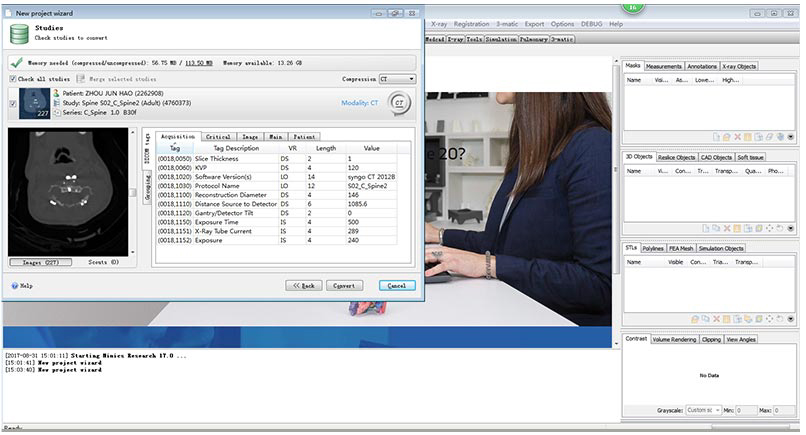
Because this is a medical project, we imported the CT scan and MRI data into professional 3D medical printing software to screen and convert the images into solid models.
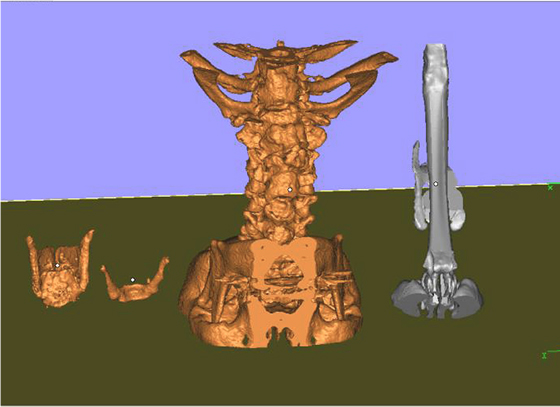
With the help of software, we separated the patient's spine and trachea. The spine part that needs to be directly 3D printed is marked in orange, while the trachea part that needs to be made separately is marked in gray.
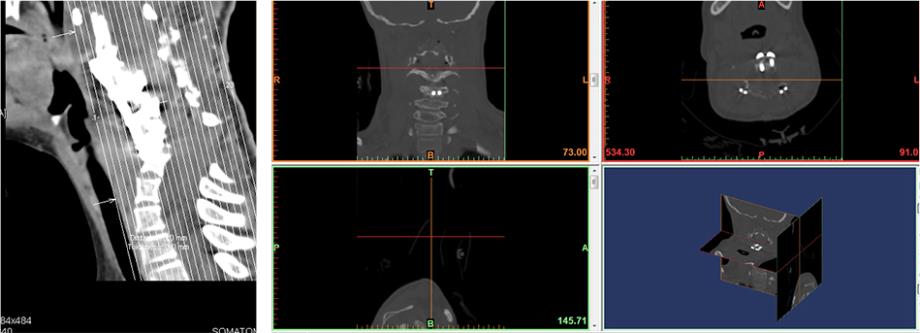
In the software we can clearly see the location and extent of the patient's esophageal lesions.
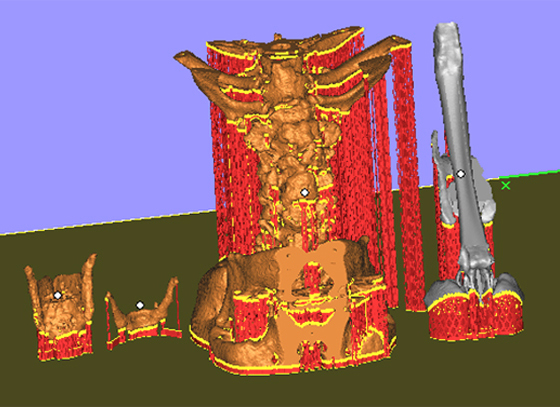
After the preliminary analysis work was completed, our printer operator added the necessary supports in the 3D printing slicer software. This model is very complex. Properly adding supports can increase the stability of the print, avoid any collapse of the pot, and also help the printing accuracy. This project requires high details and precision, but we completed the task efficiently by using professional software. The supports marked in red in the above picture will be removed in post-processing.

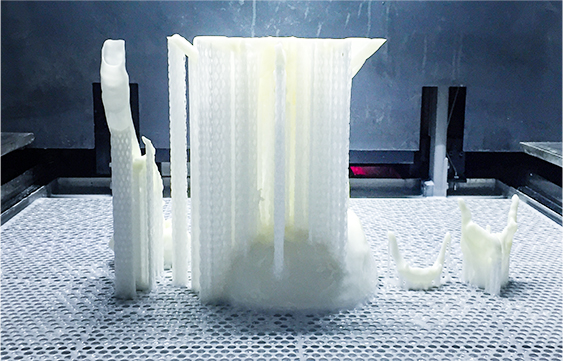
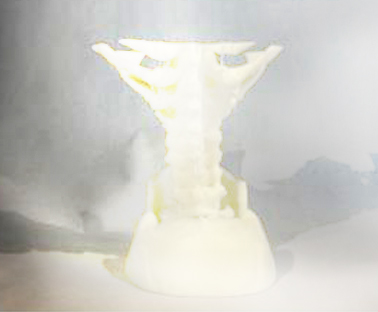
Printing on the machine
Next, we entered the printing phase. In this project, the details of the printed model were required to be highly consistent with the CT scan, which is extremely difficult to achieve with traditional processes. However, with the help of our HXC team of skilled engineers, every detail was perfectly replicated.
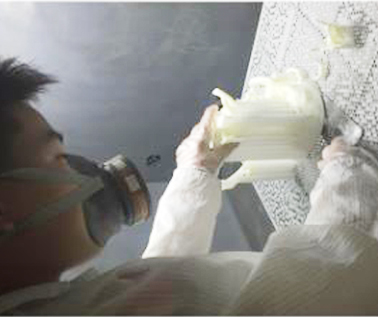
Post-processing
After printing, we carefully removed the model from the platform and cleaned it with alcohol. Next, we needed to remove the supports. In the second picture above, you can still see the support structure of the model. But the picture on the right shows that after our careful post-processing, no additional supports can be seen, and the customer is very satisfied with the final print result.
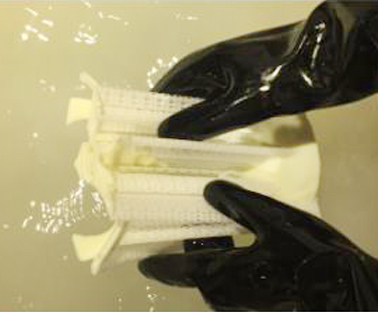
Vacuum molding to make esophageal hose
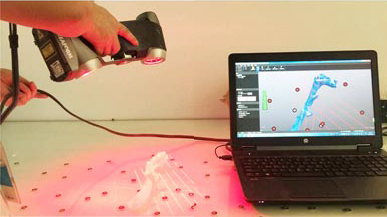
In contrast to the hard material of the spine model, the hospital required the trachea to be made of soft rubber material. In order to meet the customer's requirements, we first printed the trachea model, then scanned the data through our 3D scanner and sent it to the hospital to confirm the accuracy.
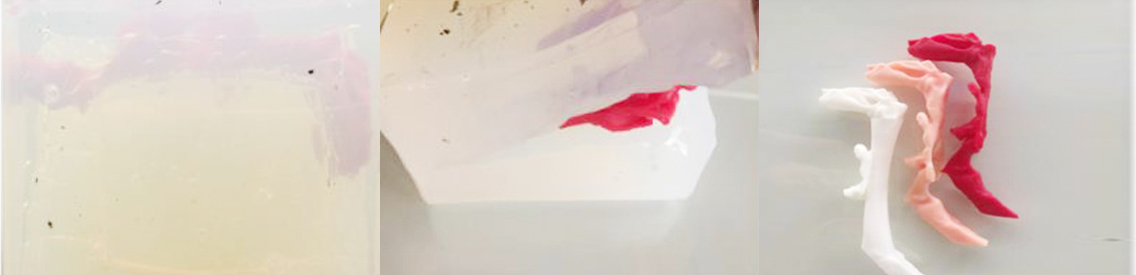
After the hospital confirmed the accuracy, we used vacuum casting to make the final model of the trachea. The 3D printed model must be perfect because any defects will be transferred to the mold. Using vacuum casting here, we can make trachea models of different colors without changing the printer material.

Assembly
If you want to know more about the application of 3D printers in the medical industry, or you have a similar project that requires our printing or other model on-demand manufacturing services, please contact us!
After the hospital confirmed the accuracy, we used vacuum casting to make the final model of the trachea. The 3D printed model must be perfect because any defects will be transferred to the mold. Using vacuum casting here, we can make trachea models of different colors without changing the printer material.